

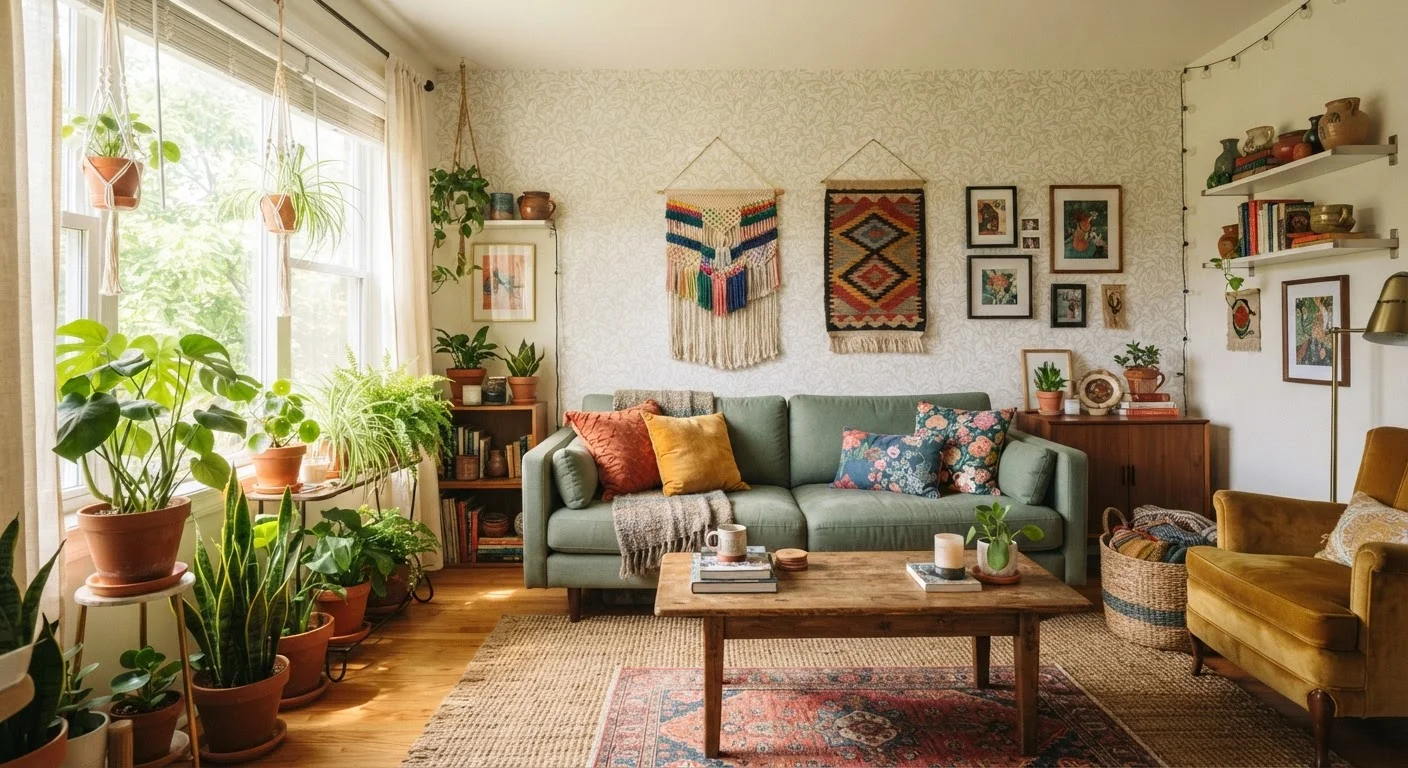
Why Rental Decorating Requires a Different Mindset
Decorating a space you own means making long-term decisions. Decorating a rental means making reversible ones. The two skill sets overlap significantly, but the rental version adds one consistent constraint: every choice must be undoable. That constraint isn't a creative limitation — it's a design challenge that often leads to more thoughtful, flexible interiors.
The financial stakes are real. Security deposits in the US typically range from one to two months' rent, and landlords can legally deduct for damage beyond normal wear and tear. Understanding exactly what qualifies as damage versus wear and tear matters. Our guide to security deposits explains that distinction in plain terms.
If you're approaching your first rental, it's worth getting grounded in the basics before you start decorating. Renting your first apartment comes with a set of responsibilities — including returning the space in good condition — that decorating decisions directly affect.
Read Your Lease First
Some rental agreements specifically restrict modifications — including removable wallpaper, adhesive hooks, or any wall coverings. Before purchasing any decorating supplies, review your lease carefully. When in doubt, ask your landlord in writing. Written permission protects you at move-out far better than a verbal agreement. See our guide to renting myths for more on verbal vs. written agreements.
What You'll Need
The right tools make damage-free decorating straightforward. Focus on products specifically designed for removable use — read packaging carefully, as not all "temporary" products perform equally on all wall surfaces.
What you will need
Removable adhesive strips and hooks
Hang frames, mirrors, and lightweight shelves without drilling holes.
Peel-and-stick wallpaper or wall panels
Add pattern or texture to a feature wall that peels off cleanly when you leave.
Tension rods
Mount curtains or room dividers inside window or door frames with zero hardware.
Removable putty or poster strips
Display lightweight prints and posters without leaving marks on painted walls.
Area rugs
Cover worn or unattractive flooring and define zones within an open-plan space.
Freestanding furniture and shelving
Add storage and structure without any wall attachment.
Step-by-Step: Decorating Without Damage
Document and protect existing surfaces
Before unpacking a single box, walk every room and photograph walls, floors, ceilings, and fixtures. Capture close-ups of existing damage — chips, scuffs, stains, or holes. Date-stamp the images and store them somewhere cloud-based so they can't be lost. This documentation is your primary defense if a landlord disputes damage at move-out. For a structured approach, use our room-by-room walkthrough checklist.
Review your lease for modification restrictions
Search your lease for words like "alterations," "modifications," "painting," and "fixtures." Many standard leases permit removable products but prohibit anything requiring tools. If your lease is ambiguous, send a brief written message to your landlord asking what's allowed — and keep the reply. Written permission is far more reliable than a verbal okay.
Build your base layer with textiles and rugs
Swap out or supplement existing window treatments using tension rods — they fit inside the window recess and require no screws. Layer an area rug over hard floors to anchor the space and reduce echo. Throw blankets, cushion covers, and curtains all move with you and are among the highest-impact, lowest-risk changes you can make.
[tip_callout]Use removable products to decorate walls
Adhesive picture-hanging strips can support framed art up to the weight specified on the packaging — always stay under the limit. Removable putty works for lightweight prints. Peel-and-stick wallpaper, applied to a clean, smooth wall, creates a feature wall that peels off without pulling paint, provided you follow the manufacturer's removal instructions. Always remove these products slowly at a low angle, especially in warm weather when adhesive is softer.
Add freestanding furniture and vertical storage
Freestanding bookshelves, storage cubes, and ladder shelves require no wall anchors and dramatically increase storage without touching a surface. Tall shelving also draws the eye upward, making low-ceilinged rooms feel more spacious. If you need a shelf that must be wall-mounted, confirm with your landlord first and consider patching kits — sold at most hardware stores — to fill holes cleanly before move-out.
Incorporate plants and portable lighting
Plants bring organic texture and color without any wall contact at all. Floor lamps, table lamps, and LED strip lights (with removable adhesive backing) let you shift the mood of a room entirely without touching the existing wiring. Avoid any modification to electrical fixtures — that work requires a licensed electrician and is never appropriate as a DIY rental change.
Reverse all changes before move-out
When your tenancy ends, remove all adhesive products according to manufacturer instructions, patch any minor holes with lightweight filler if permitted, and clean walls where needed. Return the space to its original condition as documented in your move-in photos. Our complete move-out guide covers this process in detail, including cleaning standards and deposit return timelines.
Keeping It Manageable — and Reversible
The most common decorating mistake renters make isn't choosing the wrong product — it's over-committing to a scheme that becomes difficult to reverse. If you're drawn to bold statements, consider going maximalist in low-stakes zones: shelving displays, table arrangements, and textile layers can be as vivid as you like without touching a wall. For a realistic look at how far you can take that approach, maximalist decorating has real trade-offs worth knowing before you commit.
The broader principle: keep your decorating choices modular. Items that can be rearranged, swapped out, or packed into boxes without leaving a trace are always the safer bet in a rental. Done consistently, this approach lets you live in a space that genuinely feels like yours — and walk away from it with your deposit intact.
Don't Skip the Move-In Walkthrough
Before you hang a single item, document every existing scuff, stain, and nail hole with dated photos or video. Without this evidence, pre-existing damage can be wrongly attributed to you. Our apartment walkthrough checklist walks you through exactly what to photograph room by room.
This article is for general informational purposes only and does not constitute legal or financial advice. Lease terms vary significantly; always consult your specific lease and, where appropriate, a qualified professional before making modifications to a rented property.
The content on this site is for informational purposes only and is not a substitute for professional advice. Always consult a qualified professional for guidance specific to your situation.