

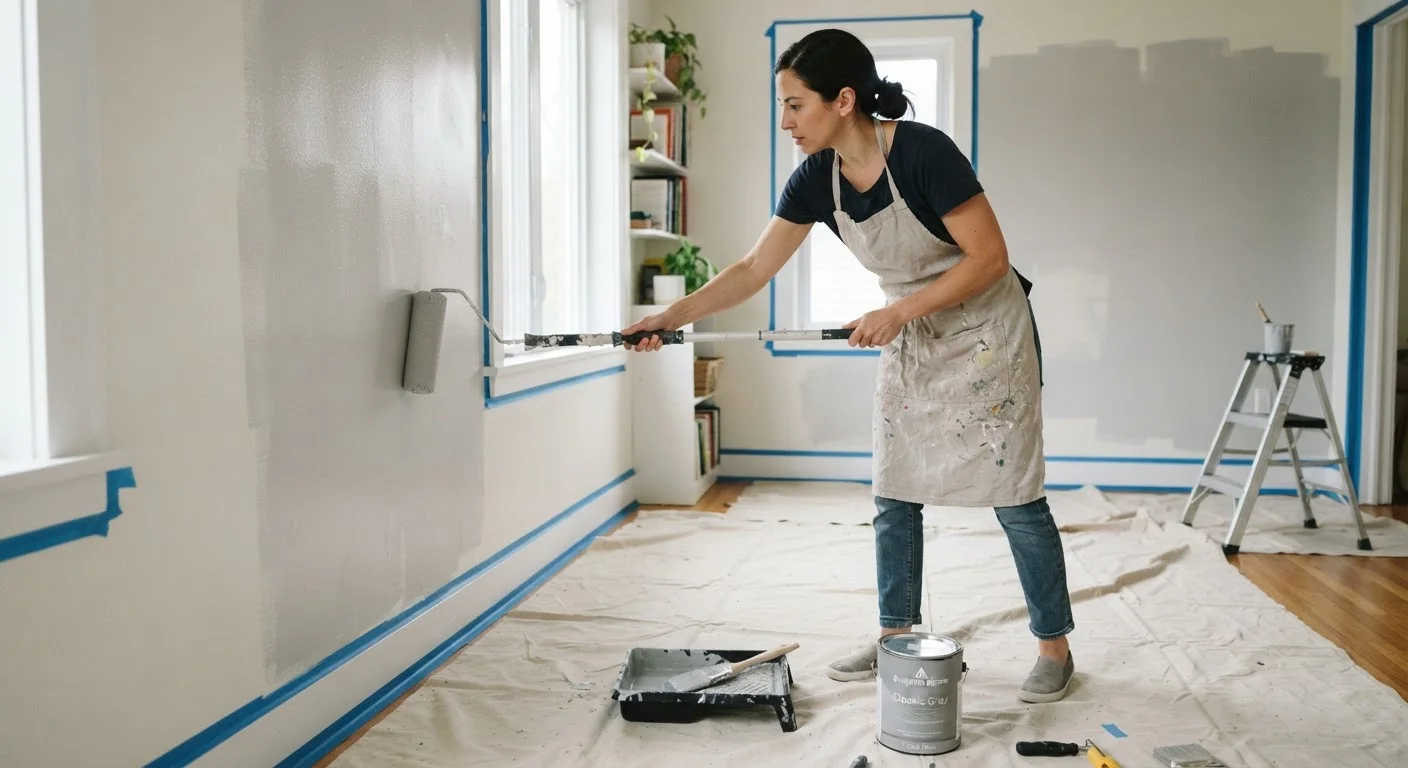
Why Surface Prep Is the Real Paint Job
Most visible paint failures — peeling, cracking, uneven sheen, bleed-through — trace back to surface preparation, not the paint itself. Professionals know that the time spent cleaning, patching, and priming directly determines how the finished wall looks and how long it holds up. Rushing past prep to get to the satisfying part (actually painting) is the most common reason DIY results disappoint.
If you're approaching a larger renovation and wondering how painting fits into the sequence of work, our guide on what to expect in your first renovation walks through how to plan and order tasks effectively. And if a tricky surface, persistent stain, or structural issue has you uncertain whether this is a DIY job, knowing when and how to call a professional can save you time and a bad result.
Painter's tape
Protects trim, ceilings, and outlet covers from paint bleed while you cut in edges.
Drop cloths
Shields floors and furniture from drips and spills during application.
Patching compound (spackle)
Fills nail holes, small cracks, and surface imperfections before priming.
Sanding sponge or 120-grit sandpaper
Smooths patched areas and scuffs glossy surfaces so primer and paint can bond.
Primer
Creates a uniform surface for paint to adhere to, especially over new drywall, stains, or dramatic color changes.
Angled brush (2–2.5 inch)
Used to cut in paint along edges, corners, and trim before rolling.
Roller with appropriate nap
Applies paint efficiently across large flat surfaces; nap thickness varies by wall texture.
Painter's extension pole
Attaches to roller frame to reach upper walls and ceilings without a ladder for most standard room heights.
Gather everything before you start. Mid-project runs to the hardware store break your wet edge and momentum.
What you will need
Choosing the Right Sheen for Each Surface
Sheen level — how much the dried paint reflects light — is a practical decision, not just an aesthetic one. Here's how the common options stack up:
- Flat / Matte: Absorbs light, hides surface imperfections well. Hard to wipe clean. Best for low-traffic areas like adult bedrooms and formal dining rooms.
- Eggshell: Slight sheen, more washable than flat. The workhorse finish for living rooms, hallways, and most interior walls.
- Satin: Noticeably smooth and wipeable. Handles humidity and light scrubbing. A solid choice for family rooms, children's bedrooms, and laundry rooms.
- Semi-gloss: Durable, moisture-resistant, easy to clean. Standard for kitchens, bathrooms, and trim throughout the home.
- Gloss: Highly reflective and very durable. Used almost exclusively on trim, cabinetry, and doors where maximum durability is the priority.
A higher sheen doesn't mean better paint — it means a surface that reflects more light and requires a smoother substrate to look good. Imperfections that a flat paint would camouflage become prominent under a semi-gloss. Match the sheen to the function of the surface, not just the look you want.
Test Your Sheen in Real Light First
Paint chip cards at a store look very different from a dried coat on your specific wall under your specific lighting. Before committing to a sheen level, brush a small patch on the actual surface and observe it at different times of day. This is especially important in rooms with limited natural light, where a high sheen can create distracting glare from lamps or overhead fixtures. For more on how light interacts with wall color, see our guide on choosing dark paint.
For rooms where you're also weighing color strategy, our article on building a room from scratch provides a grounded framework for making decisions that work together cohesively. And if you're considering how texture — not just color and sheen — shapes the feel of a room, see how textures complement painted walls.
The Steps Professionals Don't Skip
Don't Skip Ventilation and Safety Basics
Interior paints — even low-VOC formulas — release fumes during application and drying. Open windows, run fans, and keep the space ventilated throughout the project. If you're sanding surfaces that may contain lead paint (common in homes built before 1978), stop and consult an EPA-certified professional before proceeding. Disturbing lead paint without proper precautions creates a serious health hazard.
Wet Walls Will Ruin Your Results
Paint applied over damp surfaces — from a recent wash, humidity, or moisture intrusion — will peel, bubble, or fail to bond. Allow washed walls to dry completely (at least 24 hours in humid conditions) before painting. If you notice recurring dampness or water stains, investigate the source before painting over it.
Clean and inspect every surface
Wash walls with a mild detergent solution — a bucket of warm water with a small amount of dish soap works for most rooms. Pay attention to areas around light switches, near the stove, and along baseboards where grease, dust, and oils accumulate. These residues prevent paint from bonding. Rinse thoroughly and let walls dry completely before moving on.
While the walls dry, look for cracks, holes, water stains, or peeling areas. Mark each one with a piece of tape so nothing gets missed.
Patch imperfections and sand smooth
Apply patching compound to nail holes, hairline cracks, and any divots using a putty knife. Overfill slightly, let it dry fully (check the label — most need at least two hours), then sand flush with the surrounding surface using a sanding sponge. For larger cracks or damaged sections of drywall, a second thin coat of compound after sanding is often needed.
Once patches are smooth, lightly sand any areas where old paint is chipped or where the surface transitions between materials. Feathering the edges prevents visible ridges under the new coat.
Apply primer where it's needed
Primer isn't always required — but when it is, skipping it almost always shows up as uneven coverage, bleed-through, or poor durability. Prime in these situations: new or unpainted drywall, patched areas larger than a coin, surfaces with water stains or smoke damage, and any time you're making a drastic color shift (especially going from dark to light).
Tinted primer (ask the paint counter to tint it close to your topcoat color) reduces the number of finish coats needed for full coverage. Let primer dry completely before painting over it.
Tape, mask, and protect the room
Apply painter's tape along trim, baseboards, window casings, and the ceiling line wherever you need a clean edge. Press the tape edge firmly with a putty knife or your fingernail to prevent paint from bleeding underneath. Lay drop cloths across the floor and over any furniture remaining in the room.
Remove outlet cover plates and light switch covers entirely — painting around them wastes time and looks less professional than reinstalling clean covers after painting.
Cut in edges before you roll
Using your angled brush, paint a 2–3 inch band along all edges — corners, ceiling lines, trim, and around outlets. This is called cutting in, and it creates a finished border that the roller can't reach cleanly. Work in manageable sections (one wall at a time) so the cut-in edge is still wet when you roll adjacent to it. Painting into a dry edge creates visible lines called lap marks.
Roll in sections using a W or M pattern
Load the roller evenly — avoid overloading, which causes drips — and apply paint in a loose W or M shape across a roughly 3×3 foot section. Then fill in the pattern with smooth vertical strokes without lifting the roller. This distributes paint evenly without streaks. Overlap each section slightly while it's still wet to blend edges seamlessly.
Maintain a wet edge throughout. If you stop mid-wall and let paint dry before finishing, the overlap will be visible in certain lighting.
Apply a second coat after full drying
Check the paint can's recoat time — typically two to four hours for latex paints, but humidity and temperature can extend this. Applying a second coat too soon traps moisture and leads to peeling. Once the first coat is dry, repeat the cut-in and roll sequence. Two thin coats provide better coverage, more even color, and better durability than one heavy application.
The content on this site is for informational purposes only and is not a substitute for professional advice. Always consult a qualified professional for guidance specific to your situation.