

Why Fluid Checks Are Your First Line of Defense
Your vehicle relies on six core fluids to protect its engine, brakes, transmission, steering, and cooling systems. When any one of them drops below the correct level or degrades in quality, parts begin to wear faster — and repair bills follow. The encouraging reality is that checking these fluids is straightforward, costs nothing beyond a few minutes, and requires no mechanical training.
If you're new to car ownership, this guide pairs well with our introduction to vehicle maintenance, which covers the broader fundamentals of keeping a car running reliably. For drivers who want to know which tasks genuinely call for a professional versus which can be handled at home, our DIY maintenance comparison guide offers a balanced breakdown.
What you will need
What You'll Need Before You Start
You don't need a toolbox or mechanical expertise — just a few basic items and your owner's manual. Gather these before lifting the hood:
Owner's Manual
Identifies the correct fluid specifications, reservoir locations, and change intervals for your specific vehicle.
Lint-Free Rags or Paper Towels
Used to wipe dipsticks clean before taking a proper reading and to clean up any spills.
Disposable Gloves
Protects skin from brake fluid and coolant, both of which can be irritating or corrosive.
Flashlight or Phone Torch
Helps you see fluid color and levels clearly in poorly lit engine bays.
With everything in hand, the entire process typically takes 10 to 20 minutes depending on your familiarity with the engine bay layout.
Step-by-Step: Checking Each Fluid
Work through the fluids in the order below. Checking oil and coolant first — when the engine is cold — keeps the sequence logical and safe.
Prepare the Vehicle
Park on a flat, level surface and turn the engine off. For oil, coolant, and transmission fluid checks, allow the engine to cool for at least 10–15 minutes — hot engines can give inaccurate readings and pose a burn risk. Pop the hood and secure it with the support rod if your vehicle doesn't have an automatic stay.
Check Engine Oil
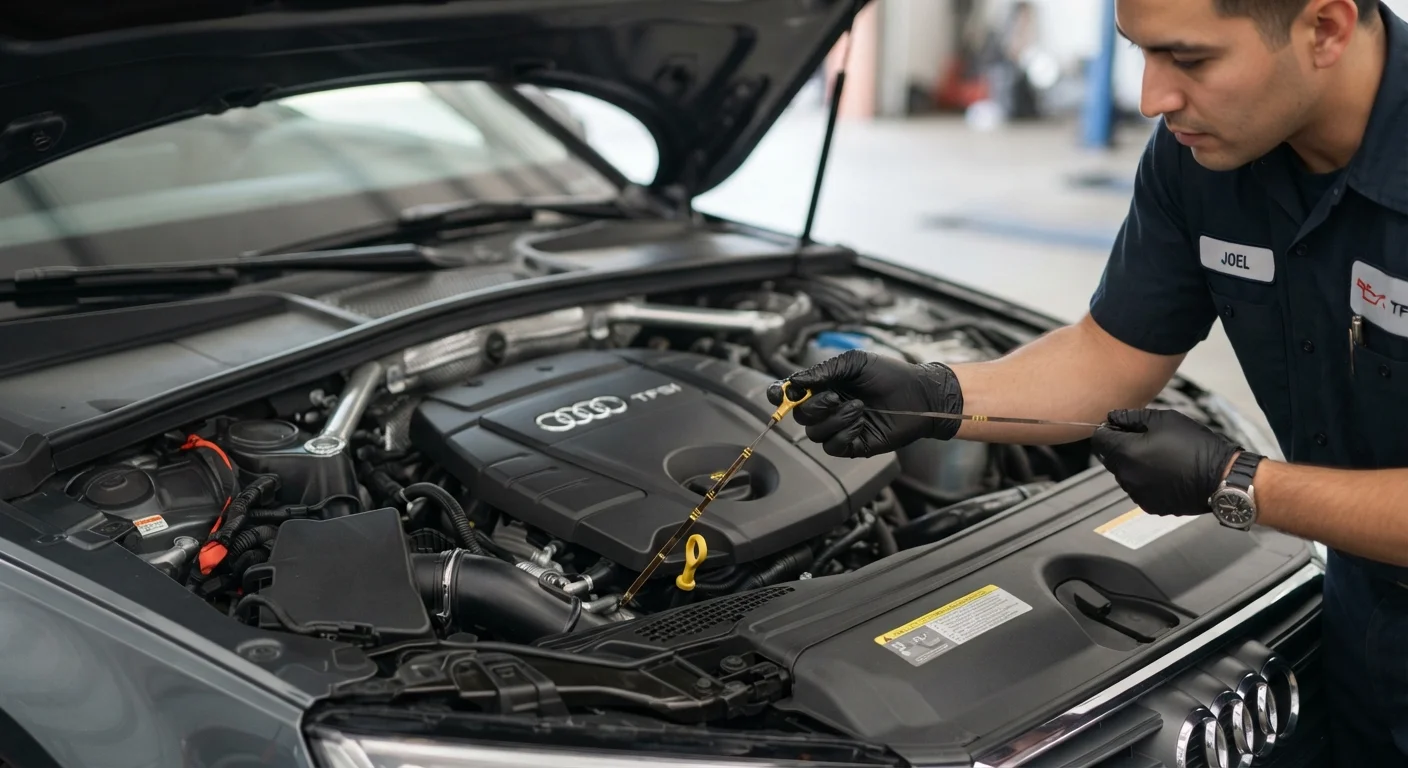
Locate the oil dipstick — usually marked with a bright-colored ring. Pull it out fully, wipe it clean with a rag, reinsert it all the way, then withdraw it again for an accurate reading. The oil level should fall between the two marks on the dipstick. Also note the oil's condition: healthy oil is amber to light brown. Black, gritty, or milky oil signals it's due for a change or points to a more serious issue.
Check Coolant (Antifreeze)
Never open the radiator cap when the engine is hot — pressurized coolant can spray and cause severe burns. Instead, check the translucent overflow reservoir beside the radiator. The coolant level should sit between the MIN and MAX markers. Coolant should be green, orange, or pink depending on type — not brown or rusty, which indicates contamination.
Check Brake Fluid
The brake fluid reservoir is typically a small translucent plastic container near the firewall on the driver's side. The level should be between MIN and MAX without opening the cap. Brake fluid darkens with age and moisture absorption — fresh fluid is nearly clear to light yellow. A noticeably low level may indicate worn brake pads or a possible leak, both of which warrant prompt attention.
Check Power Steering and Transmission Fluid
Power steering fluid (on vehicles without electric power steering) has its own reservoir or dipstick, typically near the engine belt. Check the level and look for a clear, pinkish fluid — dark or burnt-smelling fluid needs changing. Automatic transmission fluid is checked with a dedicated dipstick, often at the rear of the engine. It should be checked with the engine warm and running in Park — consult your manual, as procedures vary widely. The fluid should be pink to red, not brown or burnt-smelling.
Check Windshield Washer Fluid
The washer fluid reservoir is usually clearly marked with a windshield icon. This is the one fluid you can top off at any time without engine temperature concerns. Use a purpose-made washer fluid rather than plain water — formulated fluids contain detergents and, in winter-rated varieties, antifreeze agents that prevent freezing in the lines and nozzles.
Build a Simple Monthly Habit
Pick a consistent day each month — the first Saturday, for example — to run through these checks. It takes about 15 minutes and gives you an ongoing picture of your vehicle's health. Spotting a gradual decline in fluid level between checks is often the earliest warning of a slow leak or developing problem.
Understanding What the Fluids Are Telling You
Fluid condition communicates as much as fluid level. A sudden drop in oil between checks suggests either high consumption or a developing leak. Coolant that turns rusty indicates the system's corrosion inhibitors are exhausted. Brake fluid that has gone dark is doing its job — absorbing moisture — but needs replacing to maintain braking performance.
Don't Mix Fluid Types
Using the wrong coolant, brake fluid specification, or transmission fluid for your vehicle can cause significant damage. Always verify the correct specification in your owner's manual before topping up any fluid — the right spec is usually printed on the reservoir cap as well.
Incorporating fluid checks into a seasonal rhythm is one of the most effective habits a driver can build. Our seasonal car maintenance checklist shows you exactly what to inspect across the year. And if you've heard that you should change your oil every 3,000 miles regardless, it's worth reading our piece on common car maintenance myths — the real answer is more nuanced than that.
Know When to Stop and Call a Mechanic
If you find any fluid that is significantly low with no obvious explanation, milky or heavily contaminated, or if you notice puddles forming under your parked car, do not delay seeking professional advice. Fluid loss that cannot be explained by normal consumption is a symptom, not just a maintenance item. Driving with critically low brake fluid or coolant can result in brake failure or engine damage.
When fluid checks do lead you to a mechanic, knowing how to read the resulting service report keeps you in control of the conversation. See our guide on reading a mechanic's service report for plain-language explanations of common workshop terminology.
The content on this site is for informational purposes only and is not a substitute for professional advice. Always consult a qualified professional for guidance specific to your situation.